Guide: How to Create Your Own Gallery Wall

(Inspiration for how to create a gallery wall - find the posters here)
Step-by-step guide to creating a gallery wall
A gallery wall is a beautiful and creative way to bring personality into a room. By combining pictures, posters, linocuts, and artworks on a wall, you can create a unique and inspiring interior that reflects your style, taste, and personality. Gallery walls can be minimalist or expressive, and they can be adapted to the size of the room and the desired visual expression. It's also a flexible solution where the content in the frames can be changed to suit trends and finds.
I've gathered my best advice on how to create the perfect gallery wall for your home.
Step 1: Find inspiration and plan before hanging
1.1. Explore different styles and layouts, for example, on Pinterest or in home decor magazines, to find inspiration. See my templates further down the page.
1.2. Measure the wall where you want to create your gallery wall, and use painter's tape as a guideline for your gallery wall.
1.3. Decide whether you want a loose or fixed edge for your gallery wall. A loose edge creates a more dynamic and relaxed look, while a fixed edge provides a more structured and clean expression.


Step 2: Choose your pictures and frames
2.1. Choose pictures that reflect your personal style and harmonize with the rest of your home.
2.2. Consider different sizes, shapes, and colors for the frames. You can keep your frames in silver, black, white, and natural wood for a calm expression, or add frames in strong and contrasting colors for a visual wow effect.  See my frames here. See more posters here.
2.3. Add lightness to color-saturated pictures with a passe-partout and let the motifs stand out more clearly.

Step 3: Consider using other interior items than pictures
3.1. Add your personal touch and break up your gallery wall with a mirror, candles, lamp, hanging plants, or ceramic ornaments.
Step 4: Create a template on the floor
4.1. Place your pictures and frames on the floor according to your wall sketch to experiment with different layouts. This allows you to move your motifs around without having to make holes in the wall.
4.2. Create balance by evenly spreading pictures of different sizes and colors.
Step 5: Measure and mark
5.1. Do yourself a favor and use a spirit level and tape to mark the placement of each frame on the wall using your measurements and floor sketch. You will regret it when the result is finished, and you see the pictures hanging crooked. I speak from bitter experience.
5.2. Loose edge: start in the middle and work your way outwards.
5.3. Fixed edge: start at the corners and work your way inwards.
Now that your gallery wall is complete, you can enjoy your personal art exhibition and impress your guests with your creative flair.
5 classic poster sizes


Gallery wall templates


Wall art that speaks to the heart.
-
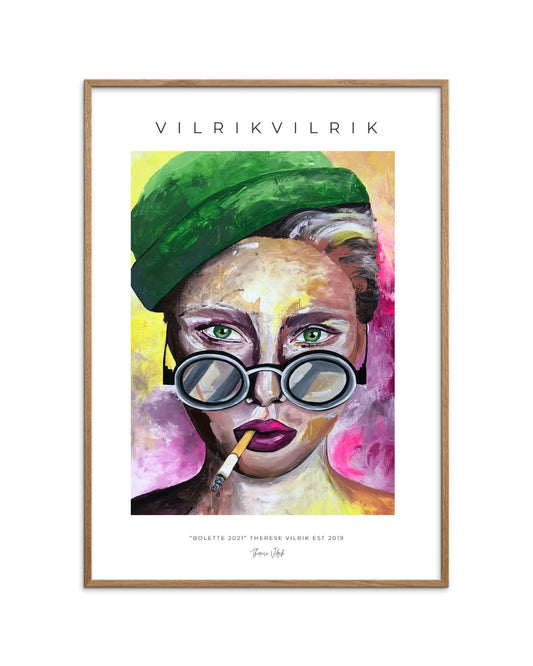
Bolette art print
Regular price From 449,00 DKKRegular priceUnit price per -
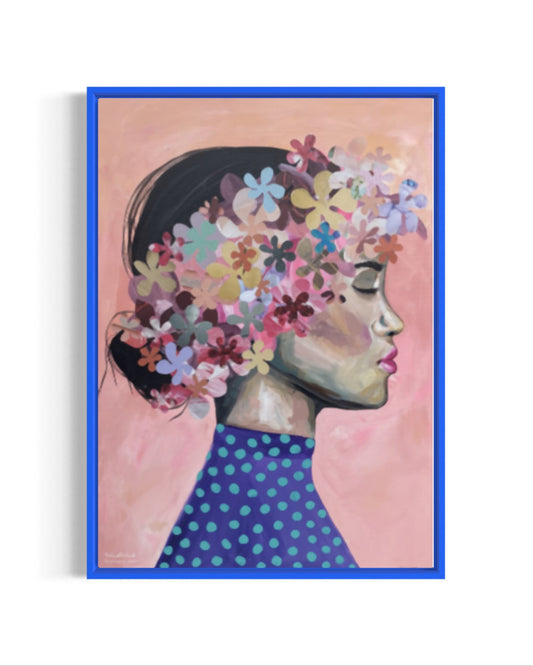
Summer hair
Regular price From 449,00 DKKRegular priceUnit price per -
Summer Hair art print
Regular price From 449,00 DKKRegular priceUnit price per

Frame your moments with care.
-
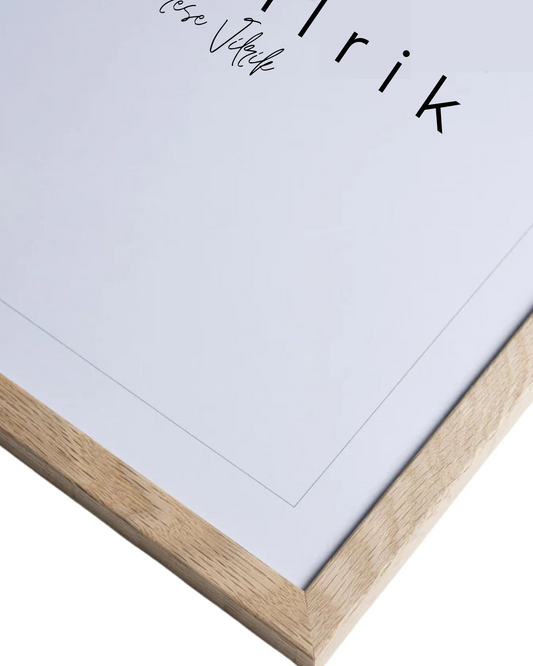
Natural oak frame
Regular price From 199,00 DKKRegular priceUnit price per -
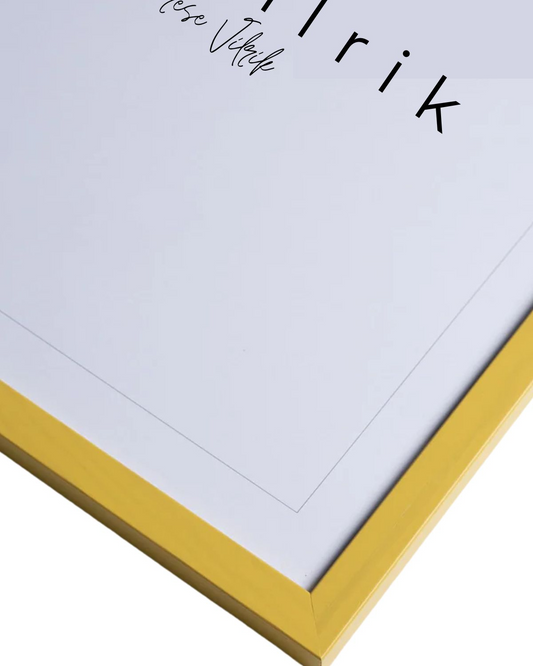
Yellow frame
Regular price From 199,00 DKKRegular priceUnit price per -
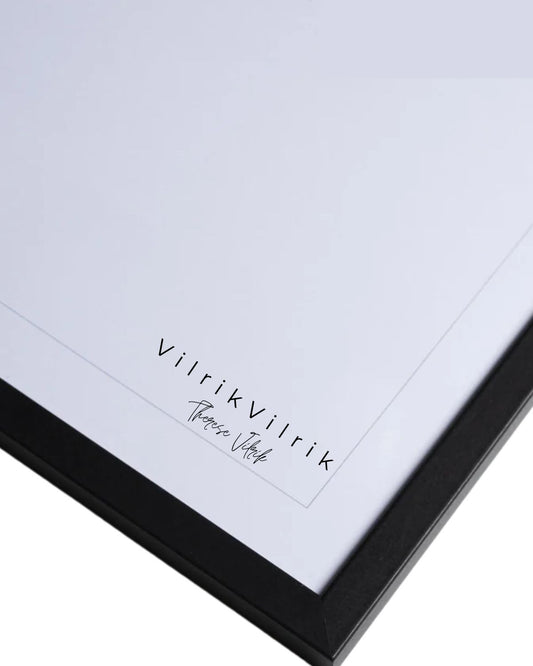
Black frame
Regular price From 199,00 DKKRegular priceUnit price per -
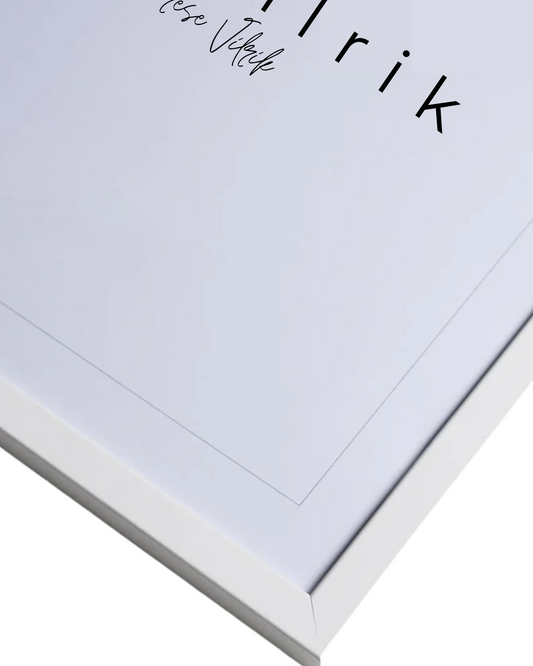
White frame
Regular price From 199,00 DKKRegular priceUnit price per